Coping Baseboard with a Miter Saw
Miter saws do an excellent job at cutting consistent, perfect angles. The problem is, in the real world most walls are not consistent or perfect. To deal with this, rather than using trial and error while trying to get the perfect angle, most carpenters use a technique known as coping. Coping is a woodworking technique that is used to shape one end of a piece of wood to the contours of an abutting member. Basically, to create a perfect joint, one piece of wood is cut straight, so that it butts completely up against the wall. The other piece is cut in such a way that it fits perfectly overtop the profile of the first piece of wood.
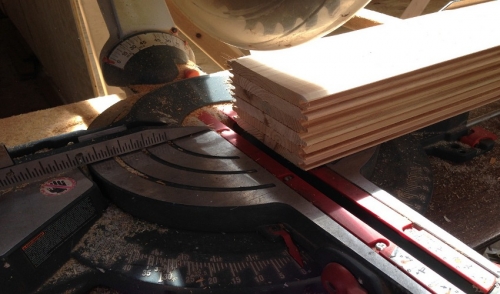
To do this with a miter saw, first begin by cutting one piece of the baseboard at a 90° angle so that it is flat against the wall. The other piece of molding should be cut at a 45° angle on the miter saw. At this point, most carpenters get out their coping saw and carefully cut along the 45° edge, just below the painted line so that the profile is left intact. It is important to hold the coping saw at a 45° angle as you do so, removing enough material from behind, so that a tight seam as possible. Those more experienced using a miter saw can use it instead of a coping saw, for the second step. In that case, simply cut away the material below the paint line at a 45° angle. For the flat section of baseboard (the bottom part) this is a simple cut. It gets tricky towards the top of the baseboard, cutting away behind the contour of the profile. To do this, it will take a steady hand (resting your elbow on the table helps for stability), and patience. By holding the wood steady and bringing down the blade, moving the wood, and bringing the blade down again, you can slowly eat away at the material. It’s important to note that you shouldn’t stop the blade until it is clear of the molding. Otherwise you could risk ruining your cut.